My daughter loves animals. These animal puppets are easy to make and she loves them! We have them in our quiet book for our Noah's Ark page, but they are also just as fun by themselves. I have also used these as gifts!
Materials:
For this tutorial, I just made the elephant, bear, and monkey.
Here are my cut out pieces:
I chose to work on the faces first but you can do it in whatever order you want.
If you chose to glue your pieces on:
I used this spray adhesive and spray it on a paper plate and then I dip the brush in the glue and then brush the glue on the small pieces to add to the head.
If you sew it, try to use thread the same color as the top piece of felt and carefully sew around the piece in even stitches.
I use both methods and I think a lot of it is personal preference (and if you have the right thread color). I didn't have a cream color thread for the monkey so I glued it on so I wouldn't have to buy thread just for this puppet. I also found it easier to glue the stripes on the zebra rather than sewing them on.
I stitched the eyes, by making a knot. I wrap the thread around the needle several times (about 7) and then put the needle back down into the felt. You can also make the eyes by stitching by the eye several times until you get the size of eye you would like.
The finished faces:
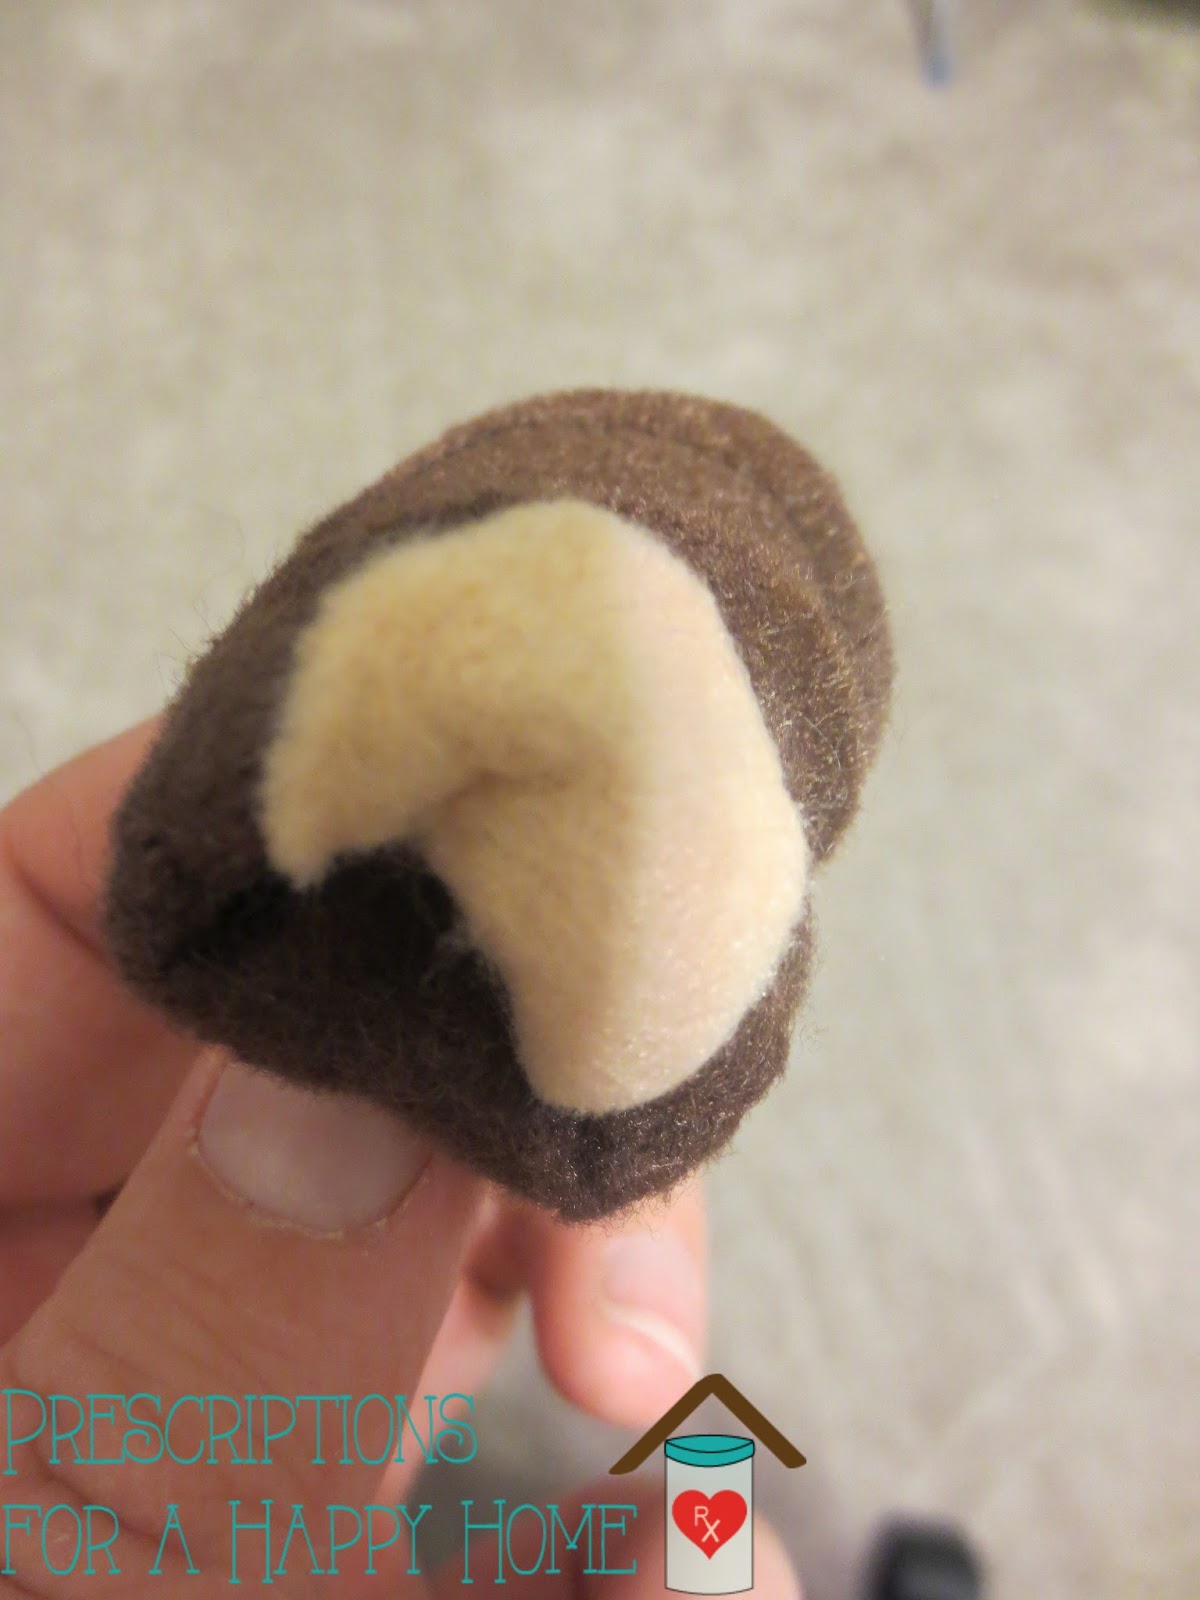
I didn't add the bear's ears until the face was attached to the body. You can add it now though if you prefer.
For the monkey, giraffe, and zebra you will want to add all of the details to the body before sewing the body together. For the monkey, I just glued the belly piece in the center of one of the brown body pieces. Put the pieces right side together, or in other words have any of the detailed pieces be facing inward so you no longer see it.
Using a sewing machine, stitch around the edge of the body. I sewed as close as I possibly could to the edge.
Attach the head to the body of the puppet by carefully stitching the back layer of the body with the head. (You will want to sew carefully so you do not accidentally sew the puppet closed!). You can use a basic running stitch, but really any stitch should work.
Now you have cute puppets that should hopefully get a lot of love!
Materials:
- Felt Scraps (the colors will depend on the animals you chose and what colors you do for the animals)
- Needle and thread (ideally matching the felt)
- Spray Adhesive (optional but does make it nice)
- Sewing Machine (could do without but makes the process a lot easier)
- Pattern pieces
First step is to print out the pattern pieces and then use those as guides to get out your felt. I tried to color coordinate my pieces but you can obviously use whatever colors you want.
For this tutorial, I just made the elephant, bear, and monkey.
Here are my cut out pieces:
I chose to work on the faces first but you can do it in whatever order you want.
If you chose to glue your pieces on:
I used this spray adhesive and spray it on a paper plate and then I dip the brush in the glue and then brush the glue on the small pieces to add to the head.
If you sew it, try to use thread the same color as the top piece of felt and carefully sew around the piece in even stitches.
I use both methods and I think a lot of it is personal preference (and if you have the right thread color). I didn't have a cream color thread for the monkey so I glued it on so I wouldn't have to buy thread just for this puppet. I also found it easier to glue the stripes on the zebra rather than sewing them on.
I stitched the eyes, by making a knot. I wrap the thread around the needle several times (about 7) and then put the needle back down into the felt. You can also make the eyes by stitching by the eye several times until you get the size of eye you would like.
The finished faces:
I didn't add the bear's ears until the face was attached to the body. You can add it now though if you prefer.
For the monkey, giraffe, and zebra you will want to add all of the details to the body before sewing the body together. For the monkey, I just glued the belly piece in the center of one of the brown body pieces. Put the pieces right side together, or in other words have any of the detailed pieces be facing inward so you no longer see it.
Using a sewing machine, stitch around the edge of the body. I sewed as close as I possibly could to the edge.
Be sure to back stitch at the ends so the stitches won't unravel as you flip.
Flip the puppet so it is now right side out.
Attach the head to the body of the puppet by carefully stitching the back layer of the body with the head. (You will want to sew carefully so you do not accidentally sew the puppet closed!). You can use a basic running stitch, but really any stitch should work.
Now you have cute puppets that should hopefully get a lot of love!


No comments:
Post a Comment