Showing posts with label Gifts. Show all posts

Thursday, September 3, 2015

30th Birthday

30th birthdays can be hard for some people; I made this fun little birthday kit for one of my friends 30th birthdays.

"Now that you're 30 (and a mom), you may find yourself wondering where the years went.
In case of emergenc, the items in this kit can make you feel young again."


There are so many options of things you can include in this kit and even specialize it to the friend you are giving it to. I thought Target was helpful in coming up with items, but really you can shop anywhere or use several different stores. 

I had one item for every category.

Slumber Party Ideas:
  • Sleeping face mask
  • Fleece blanket
  • chick flick and popcorn
  • new pjs
Give yourself a makeover:
  • favorite makeup products (mascara, eye shadow, etc).
  • Nail polish with nail files
  • body spray
  • Hair accessories
Play dress up:
  • Fun socks
  • jewelry
  • hair accessories
  • gift card to a clothing or jewelry store
Have girl time (this category may have overlap with the other categories so either don't include it or use an item you haven't used yet).
  • magazine
  • book
  • chick flick
  • nail polish
  • hot chocolate and mug
  • brownie mix
When all else fails eat chocolate:
  • include favorite candy bar
  • bow of chocolates

Printables:

Thursday, August 13, 2015

Burp Clothes

I love sewing and love being able to make baby presents for people. These burp clothes make great gifts, and I have gotten several compliments on them as well.


Download the patterns below for the burp clothes. I like to use the pattern on a paper bag since it's a sturdier material.


Buy flannel fabric (you can probably buy cotton but I like the softness and the absorbency of the flannel.) I generally buy 1/2 yard in several fabrics and then mix and match the fabrics, you will need at least 1/4 yard of fabric to make the burp cloth.

Cut your fabric.


Put right side fabric together.


Pin the fabric together.

Sew around the burp cloth, leaving enough of a gap that you can flip the fabric ride side out. Sew with a 1/4 inch allowance, or as close to the edge as you feel comfortable.

Once you finish sewing, flip the fabric ride side out.


At this point, you have two options. 
1. You can sew around the burp cloth, sewing the gap together, but also giving the burp cloth a nice finished stitch.
2. Hand stitch the gap closed.

For this project, I chose option 2.


(This is a good tutorial on doing a hidden stitch, and easier to see then from my pictures.)

Now you have a finished burp clothes. These burp clothes are seriously so easy to make and so practical.


Thursday, June 18, 2015

Father's Day Coupon Book


Do you need a quick and easy Father's day gift? 

This year my kids are giving Jeff this fun coupon book.   They came up with some of the ideas on their own and I helped with a few others. This is the perfect gift for young kids to give to their dad or grandpas. And it couldn't be any easier, since most of the work is already done for you!


Just print out the free PDF's below.  Then cut them out and put them in an envelope.  You could hole punch them and tie them together with string if you'd like.    


Father's Day Coupons page 1 
Father's Day Coupons page 2
Father's Day Coupons page 3


Happy Father's Day!


All images used on the coupons came from clker.com

Tuesday, April 28, 2015

No-Sew Pixie Dust Pouch


Do you have a little pirate or fairy at your house?  My kids love the Disney show Jake and the Neverland Pirates.  We go on pirate and fairy adventures every day.  I first made this pixie dust pouch to go with little C's Halloween costume last year, when she went as one of the main characters from the show.  This has become quite the popular toy at our house, especially when friends come over.  It literally takes about a minute to make and you probably have all the stuff to make it in your craft box.


Materials Needed:

scrap pieces of felt (any color you want)
yarn (any color you want)
cotton balls or additional scrap pieces of felt


Directions: 
Start by cutting a 5x7 piece of felt.


Place a couple of cotton balls in the middle, or use the the scraps of the felt that you cut to fill in the pouch.


Fold the edges over, make sure that all the sides are covered and none of the cotton balls are showing.


Cut a piece of yarn.  You'll want it long enough to tie around the pouch and then tie into a necklace.  For my 2 year old, 40 inches was a good length.  Adjust the length to fit your kids.  I always like to err on the side of too much rather than not enough.


Tie the yarn around the pouch.  Make sure all the edges are tied.  I do a double knot and then wrap it around to the other side and pull it tight and do another double knot.  Tie as many as you need until it feels really tight and secure.


 My kids like to wear this like a necklace so at this point you can measure how long you want it up to your child and cut off excess yarn if you have some.  Tie the ends into a square knot and you're done.  If you want to cut around the edges to make it look more pirate-y you can or you can leave it as is.


There you have it. These would make cute party favors for a birthday party or as a gift for the pirates and fairies in your life!


And just for fun I have to post this cute picture of one of my little pirates with her pixie dust.


Thursday, April 16, 2015

DIY Animal Puppets

My daughter loves animals. These animal puppets are easy to make and she loves them! We have them in our quiet book for our Noah's Ark page, but they are also just as fun by themselves. I have also used these as gifts!


Materials:
  • Felt Scraps (the colors will depend on the animals you chose and what colors you do for the animals)
  • Needle and thread (ideally matching the felt)
  • Spray Adhesive (optional but does make it nice)
  • Sewing Machine (could do without but makes the process a lot easier)
  • Pattern pieces 

First step is to print out the pattern pieces and then use those as guides to get out your felt. I tried to color coordinate my pieces but you can obviously use whatever colors you want.


For this tutorial, I just made the elephant, bear, and monkey.

Here are my cut out pieces:


I chose to work on the faces first but you can do it in whatever order you want.

If you chose to glue your pieces on:

I used this spray adhesive and spray it on a paper plate and then I dip the brush in the glue and then brush the glue on the small pieces to add to the head.


If you sew it, try to use thread the same color as the top piece of felt and carefully sew around the piece in even stitches.

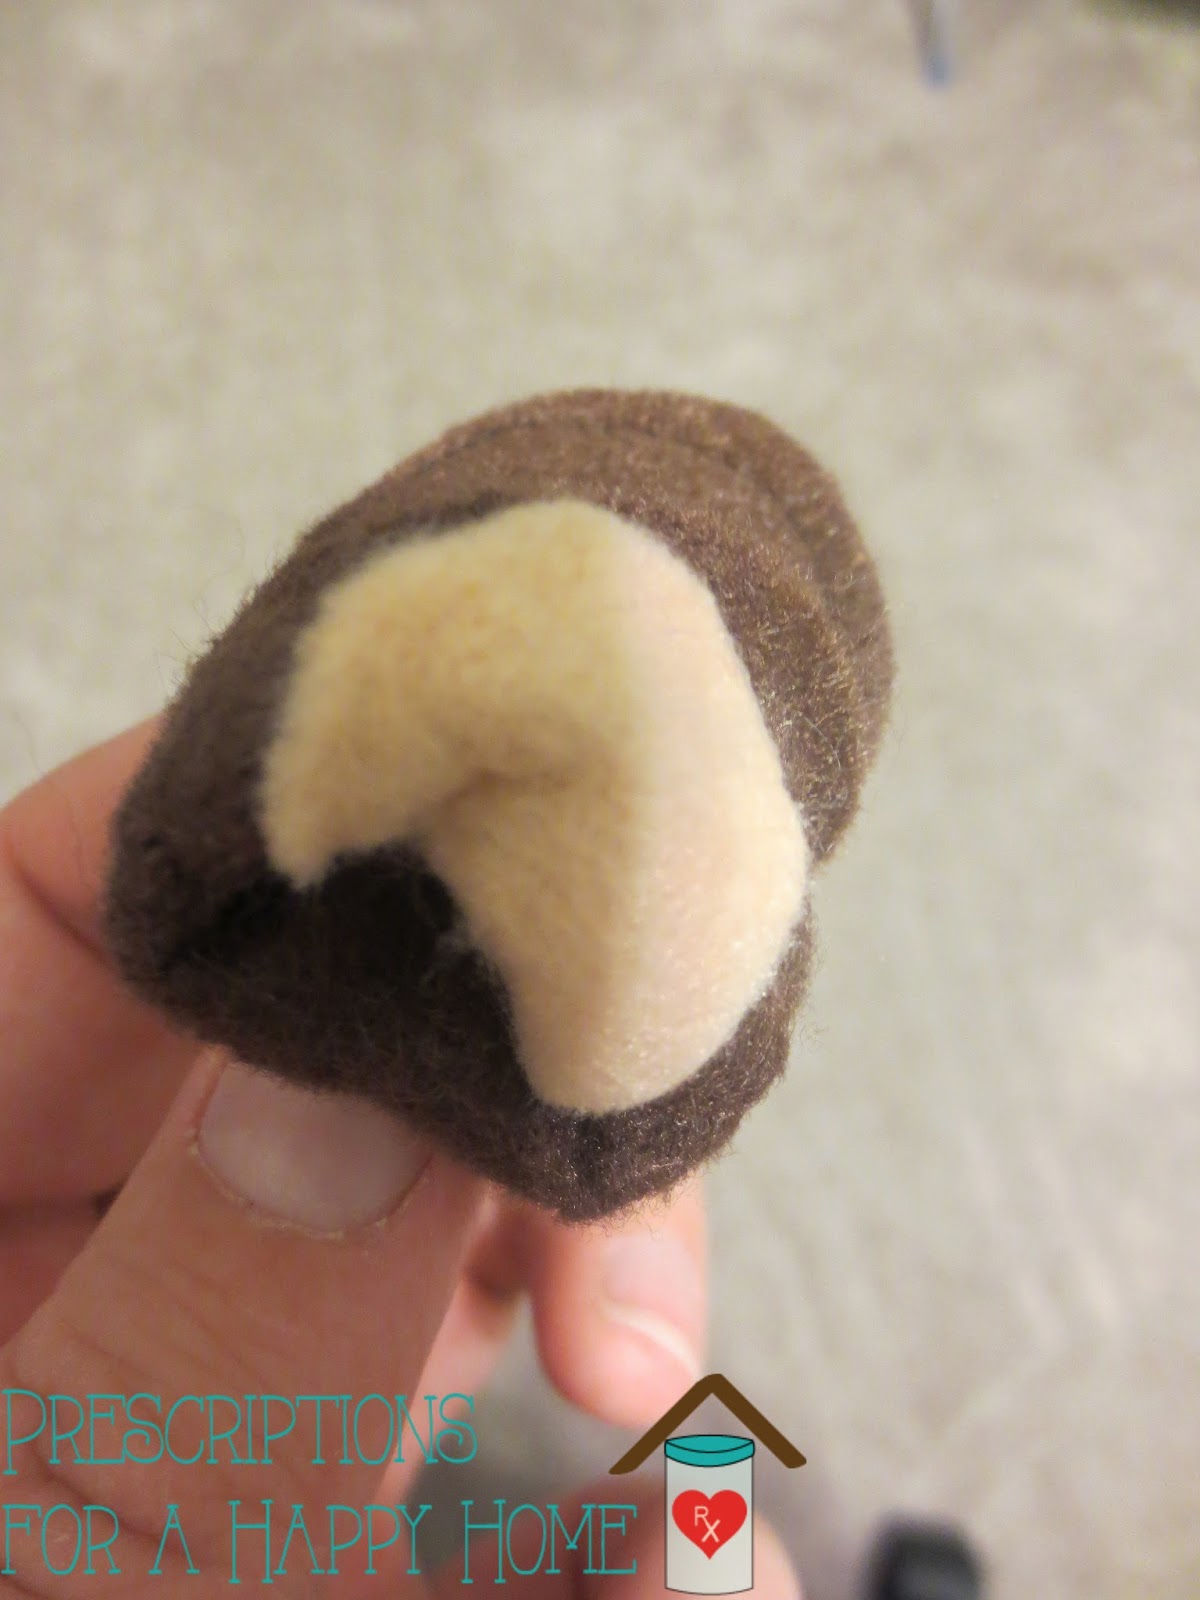
I use both methods and I think a lot of it is personal preference (and if you have the right thread color). I didn't have a cream color thread for the monkey so I glued it on so I wouldn't have to buy thread just for this puppet. I also found it easier to glue the stripes on the zebra rather than sewing them on.

I stitched the eyes, by making a knot. I wrap the thread around the needle several times (about 7) and then put the needle back down into the felt. You can also make the eyes by stitching by the eye several times until you get the size of eye you would like.


The finished faces:


I didn't add the bear's ears until the face was attached to the body. You can add it now though if you prefer.

For the monkey, giraffe, and zebra you will want to add all of the details to the body before sewing the body together. For the monkey, I just glued the belly piece in the center of one of the brown body pieces. Put the pieces right side together, or in other words have any of the detailed pieces be facing inward so you no longer see it.

Using a sewing machine, stitch around the edge of the body. I sewed as close as I possibly could to the edge.


Be sure to back stitch at the ends so the stitches won't unravel as you flip.

Flip the puppet so it is now right side out.


Attach the head to the body of the puppet by carefully stitching the back layer of the body with the head. (You will want to sew carefully so you do not accidentally sew the puppet closed!). You can use a basic running stitch, but really any stitch should work.


Now you have cute puppets that should hopefully get a lot of love!