Showing posts with label Holiday. Show all posts

Friday, December 4, 2015

Embroidering a name on a stocking

I decided when Little E was born that I would make all of us stockings, using the same pattern but everyone would have different fabric. Since we don't know how many kids we will have, I couldn't preplan and buy matching fabric so it just made it easier if everyone's fabric was different.


Now that Baby L is here, it's time she had a stocking of her own before Christmas. I went with a super easy tutorial. To be honest Nic's, mine, and Emily's stockings were all made before I had a sewing machine. I actually borrowed a friend and since it had been awhile since I had sewed I needed something simple. The only thing I didn't like about this tutorial was that she didn't show had to add names on them. So I wrote up how I added the names in case others would like to the same.

I use this tutorial:

http://blog.fabricworm.com/2010/12/christmas-stocking-tutorial.html

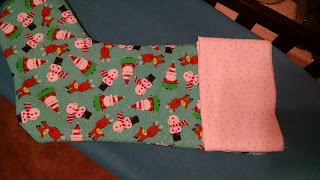
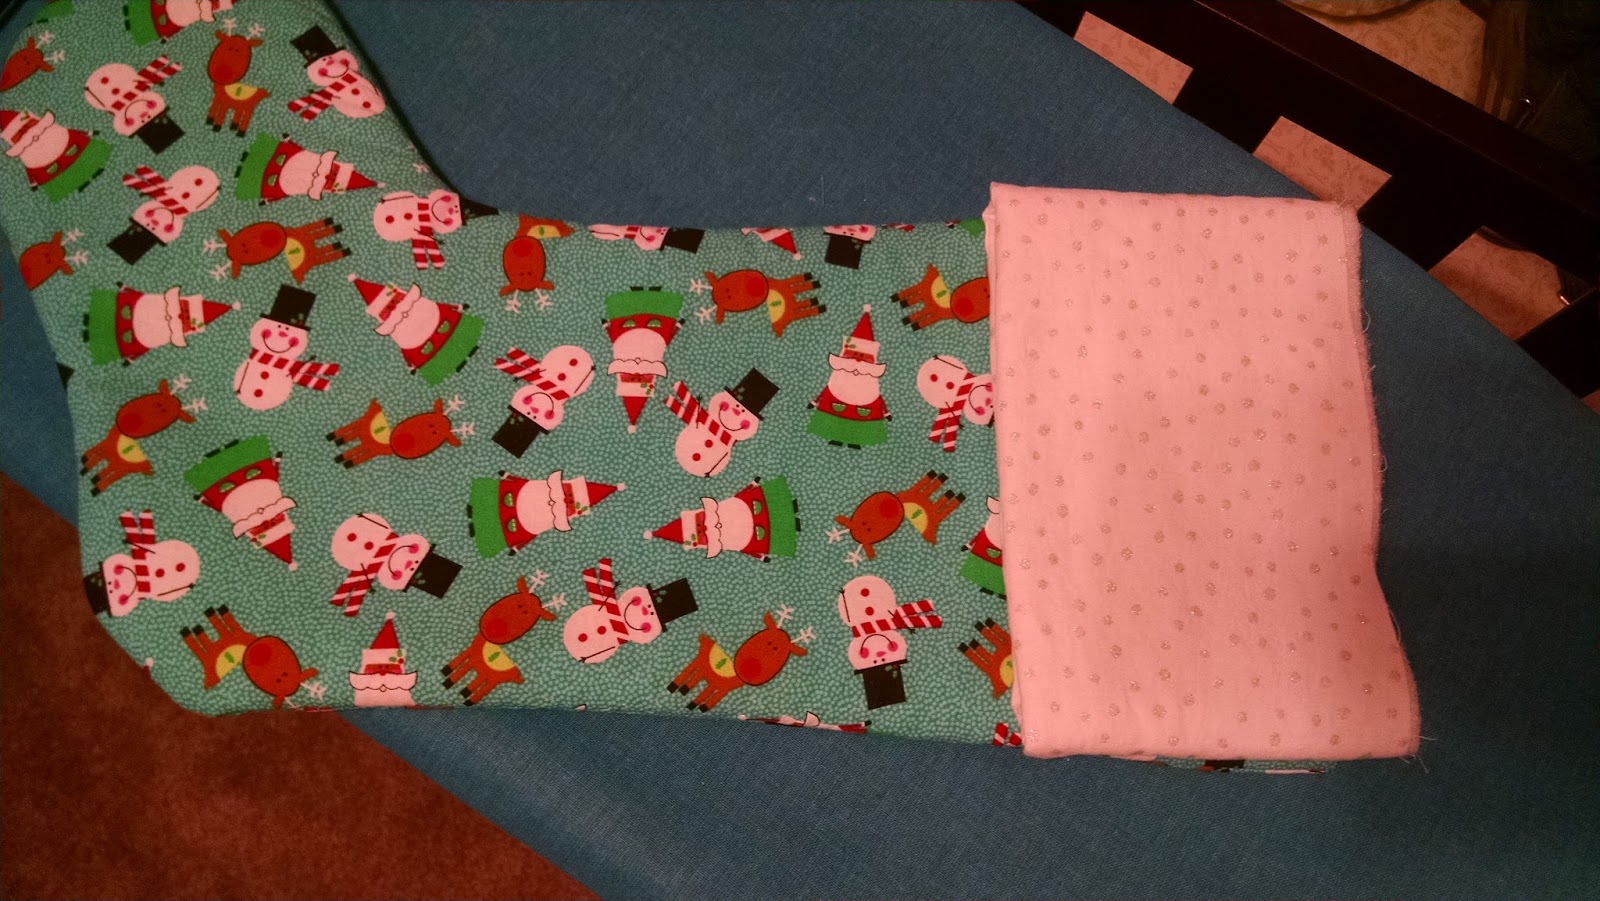
Make both pieces of the stocking.


 Take the cuff and pencil the name on the stocking. Cuff should be fold side down. I find it helpful to use a ruler to make sure the name is written straight. I like to lightly pencil it first so if I need to rewrite the name its easy to erase and fix, once you like how it looks you can always darken the name.


With the penciled name, I put it in the stocking, matching up the sides and put a couple of pins in and then flip out to make sure the name will look how I want it to.
 
Name should be facing you, when you put it in the stocking.


 How it looks flipped.

 
 Once you know the name is how you want it, you can start embroidering it.


Once the name is finished, put the cuff back in the stocking. Again making sure the edges line up with each other and the name is centered.

Instead of ribbon, like the tutorial says, I make my own  tie hanging using the cuff fabric. I start with a piece about 2 1/2" by 5". It seems large but with the seam allowance and flipping it right side out it ends up being about the right size. Don't worry about it being exactly the size, I feel like mine is not exact among all of the stocking, you are using scrap fabric. :)

Add your ribbon, or fabric hanging piece, to the stocking


Make sure everything is in the right spot. Finish sewing as directed in tutorial


Now enjoy your beautiful stockings!


Tuesday, June 30, 2015

Patriotic Pancakes


I love the 4th of July! It is one of my favorite holidays.  Every year we love to start out our busy and fun day with these festive pancakes.

Since we are normally trying to get out the door for a parade,  I like to use our favorite pancake mix to make these pancakes quick and easy. 


Prepare the mix ,or your homemade batter, according to the directions and then divide the batter between three bowls.  Put 4-5 drops of red and blue food coloring in two of the bowls.  Leave the other bowl plain.


Cook the pancakes.  While they are cooking, wash and slice your berries.


Arrange 1 of each color of pancake on the plate.  Top with whipping cream, berries and sprinkles.  Homemade blueberry or strawberry syrup would be delicious, too!


Enjoy! 


Patriotic Pancakes
Recipe By: Prescriptions for a Happy Home

Ingredients:
pancake batter, homemade or mix (prepare the amount you usually make for your family)
blue and red food coloring
whipped cream
1 c. fresh strawberries
1 c. fresh blueberies
patriotic sprinkles, optional

Directions:
Prepare the pancake batter and divide equally between three bowls.  Add 4-5 drops of red and blue food coloring to two of the bowls.  Leave the other bowl plain.  Cook the pancakes.  While the pancakes are cooking, wash and slices your fresh berries.  When the pancakes are cooked, arrange one of each color on a plate.  Top with whipped cream, fresh berries and sprinkles.  Enjoy!


Thursday, June 11, 2015

$10 USA Door/Wall Hanging

If you are looking for a cheap option for a door hanging, this one is a great option. I spent $7.50 including tax (with coupons), but I imagine if you didn't have coupons you could still keep this under $10.


Supplies:

  • USA Letters
  • 2 stars
  • Thick ribbon
  • paint
  • glue gun


Paint your letters and stars. I chose to Red letters and white stars since I thought that would stand out well with my ribbon. But you can do your letters differently, depending on your ribbon.


Let them dry completely.

I think the hardest part of this entire project was making the perfect bow. I don't know why but I struggle making bows. I used this tutorial has a guide, but only did 3 loops for each side since I didn't want it to be too overwhelming.


Make a loop about 6" long (but do not cut the ribbon) and fold it behind so that the longer tail of it is in front.. This part will be how you hang the hanging to your door, or your wall.


Glue your bow, letters, and stars to the longer part of the ribbon.


Kim's and my finished project!


Tuesday, June 9, 2015

$15 Patriotic Wreath


Janey and I love making wreaths for each holiday.  Normally we make the same one, but this time we decided to each do something different, but similar. I will share my $15 patriotic wreath today and Janey will share her $10 patriotic door-hanging on Thursday.  You can get a lot of use out of these patriotic decorations since there are several patriotic holidays!


Supplies: 

( I had the paint and floss already, but I bought the rest at Joann's with coupons and the holiday sale) 
1 18" grapevine wreath
4" wooden letters (U,S,A)
red,white and blue acrylic paint
paint brushes
4" glitter star (in the patriotic section)
patriotic glitter ball picks (These were in the patriotic and floral sections of the store)
glue gun or embroidery floss (the color of your letters)
1 1/2-2" patriotic ribbon ( I used about 2')

Tutorial:

Start by painting your letters.  I chose to do each letter a different color, but you can just pick one color if you want.  Let the letters dry completely.


Arrange the glitter picks the way you want them in the bottom right quarter of the wreath.  These picks had nice clips at the end so you should be able to weave them through pretty tightly and clip them in.


Untie the ribbon knot on the star and put the ribbon through the center of the top of the wreath.  Tie a new knot and slide the knot into the wreath so it is hidden.


Once the letters are dry, arrange them on the upper left quarter of the wreath.  I had the last line of the A go over the ribbon for the star.  


You can glue the letters on with a glue gun if you like.  I chose to tie mine on with embroidery floss because my door is metal and gets really hot in the summer and melts the glue.


Lastly, cut about 2 feet of your patriotic ribbon (or however long you like) and thread it through the wreath in the center of the back.  I used the star ribbon for a guide to the center of the wreath.


Hang up your cute and festive wreath! 


Stay tuned for Janey's patriotic door-hanging later in the week!  

Thursday, May 14, 2015

Patriotic Printable

With Memorial Day coming up and 2 other holidays that celebrate our country (Flag Day and 4th of July), I thought I should get a patriotic printable up.


PDF Download Link
JPG Download Link


Enjoy decorating for the upcoming holidays!


Thursday, March 19, 2015

Easter Printable

I can't believe it's already time to decorate for Easter. This year, I decided I wanted an Easter printable that was more Christ centered. I love the song "I Know That My Redeemer Lives" and thought that line would be perfect for an Easter printable.

Enjoy decorating


Download the printable here (without the logo):
Easter Printable PDF
Easter Printable JPG


Tuesday, March 10, 2015

Mint Chocolate Ice Cream Roll

This Mint Chocolate Ice Cream Roll is perfect for your St. Patrick's Day festivities and the best part is that you can make it ahead of time.  It's delicious and refreshing!  Making a cake roll is not as complicated as it looks, it just take a couple of extra steps.  Everyone is always impressed by this fun treat!


To make the cake you will need flour, sugar, baking powder, baking soda, salt, cocoa powder, vanilla extract, mint extract, eggs, melted butter and water.


Start by beating your eggs with a hand or stand mixer for several minutes. 


Then add the cocoa powder, melted butter, vanilla and mint extracts and sugar.  We love mint, but if you don't want mint flavor in the cake just double the amount of vanilla.  Mix well.


Combine the flour, baking soda and powder and salt in a small bowl.  Add to cocoa mixture alternately with the water.  Starting with half the flour and then half the water and repeat. 


Grease and flour a jelly roll pan/cookie sheet (15x10x1 in).  Make sure to get the shortening all over the pan and up the sides.  Also make sure the flour gets all over the pan. This is important for making sure your cake doesn't stick to the pan when you take it out of the oven.  Cooking spray just doesn't work as well so it's worth it to take this extra step. 


Pour your batter into the pan and move the pan around to make sure it spreads all over the pan evenly.  Bake for 10-15 minutes. 


While the cake is cooking, spread a clean kitchen towel on the counter.  You want it to be about the same size as your pan or slightly larger.  


Dust the towel with powdered sugar. 


 To test if the cake is done, touch it lightly with your finger and if it springs back, then it is done. Remove from the oven and run a knife along the edges to loosen the cake. 


Invert your cake onto the towel.


The start rolling it up with the towel from one of the short ends. 


It will look like this when you are done.


Let it cool on a wire rack for about 30 minutes or until cooled completely.


For St. Patrick's Day I love to use a mint flavored ice cream, but you can really use any flavor you'd like!  You can get your ice cream out of the freezer while the cake is cooling to start softening it.   Or you can just scoop out the amount you need and put it in the microwave for 45 seconds and stir.  You want your ice cream spreadable, but not too melted or you will have a mess.   


Carefully unroll your cake and spread the ice cream all over. 

Then roll your cake back up, but don't roll the towel with it this time.  Wrap it in saran wrap and put in the freezer for at least 4 hours or overnight. 


When you are ready to serve your dessert unwrap the cake roll and slice it on a cutting board.  Don't worry if your sides are slightly cracked, it will work out just fine.


Serve immediately or place your serving platter back into the freezer until you are ready.  


I like to drizzle some chocolate syrup and sprinkles over the individual servings to make them more festive.  


Mint Chocolate Ice Cream Roll
Recipe By: Prescriptions for a Happy Home

Ingredients:
4 Eggs
6 T. Butter, melted
1/2 cup Cocoa Powder
3/4 cup Sugar
1/2 tsp each: vanilla and mint extracts (if you don't want mint extract just increase the amount of vanilla to 1 t. instead)
1 c. Flour
1/2 tsp. baking powder
1/4 tsp. baking soda
1/4 tsp. salt
1/3 c. water
4 cups Mint ice cream
chocolate ice cream topping and sprinkles, optional

Directions:
Preheat your oven to 350 degrees.  Beat the eggs for several minutes with an electric or stand mixer.  Add the melted butter, cocoa, vanilla and mint extracts and sugar.  Mix well.  In a small bowl combine the flour, soda, baking powder and salt.  Add half the flour mixture to the batter and mix until combined. Then add half the water and mix until combined.  Repeat, ending with the water.  Grease and flour a jelly roll pan (15x10x1).  Pour the batter into the pan and spread around evenly.  Bake for 10-15 minutes, or until it springs back when lightly touched.

While the cake is baking, lay out a clean kitchen towel on the counter and sprinkle it with powdered sugar (about 1/3 cup). Remove the cake from the oven and run a knife around the edges of the pan to loosen the cake. Turn cake pan immediately over onto the towel.  Starting with a short end, roll the cake up with the towel jelly roll style.  Let cake cool on a wire rack for 30 minutes or until it feels completely cool.

Scoop 4 cups of ice cream into a microwave safe dish.  Microwave for 45 seconds and stir.  Repeat in 10 second intervals until the ice cream is easily spreadable, but not melted.  Unroll the cake.  Spread the ice cream over the cake evenly.  Roll up from the short end again.  (Leave out the towel this time).  Cover with saran wrap and freeze for at least 4 hours or overnight.  When ready to eat, remove saran wrap and cut into 1 inch slices.  Serve immediately.  You can drizzle chocolate syrup and sprinkles over individual servings.