I love everything chocolate and raspberry! This year for my birthday I decided I wanted to have this chocolate raspberry cake, its not too complicated since you start with a packaged cake mix. This cake shouldn't disappoint its moist and chocolaty, but still has that sweet raspberry flavor.
Beat the 3 eggs in mixing bowl, and then add the cake mix, vanilla, pie filling, and milk. Once combined stir in the chocolate chips.
Spray 2 8" cake pans. I like to use this "Miracle Pan Release" stuff since I have never had problems with my cakes coming out of the pan. (Mix 1/4 cup of flour, 1/4 cup of vegetable oil, and a 1/4 cup of shortening. Brush generously on the pan. Extras can be store at room temperature in an airtight container for another time)
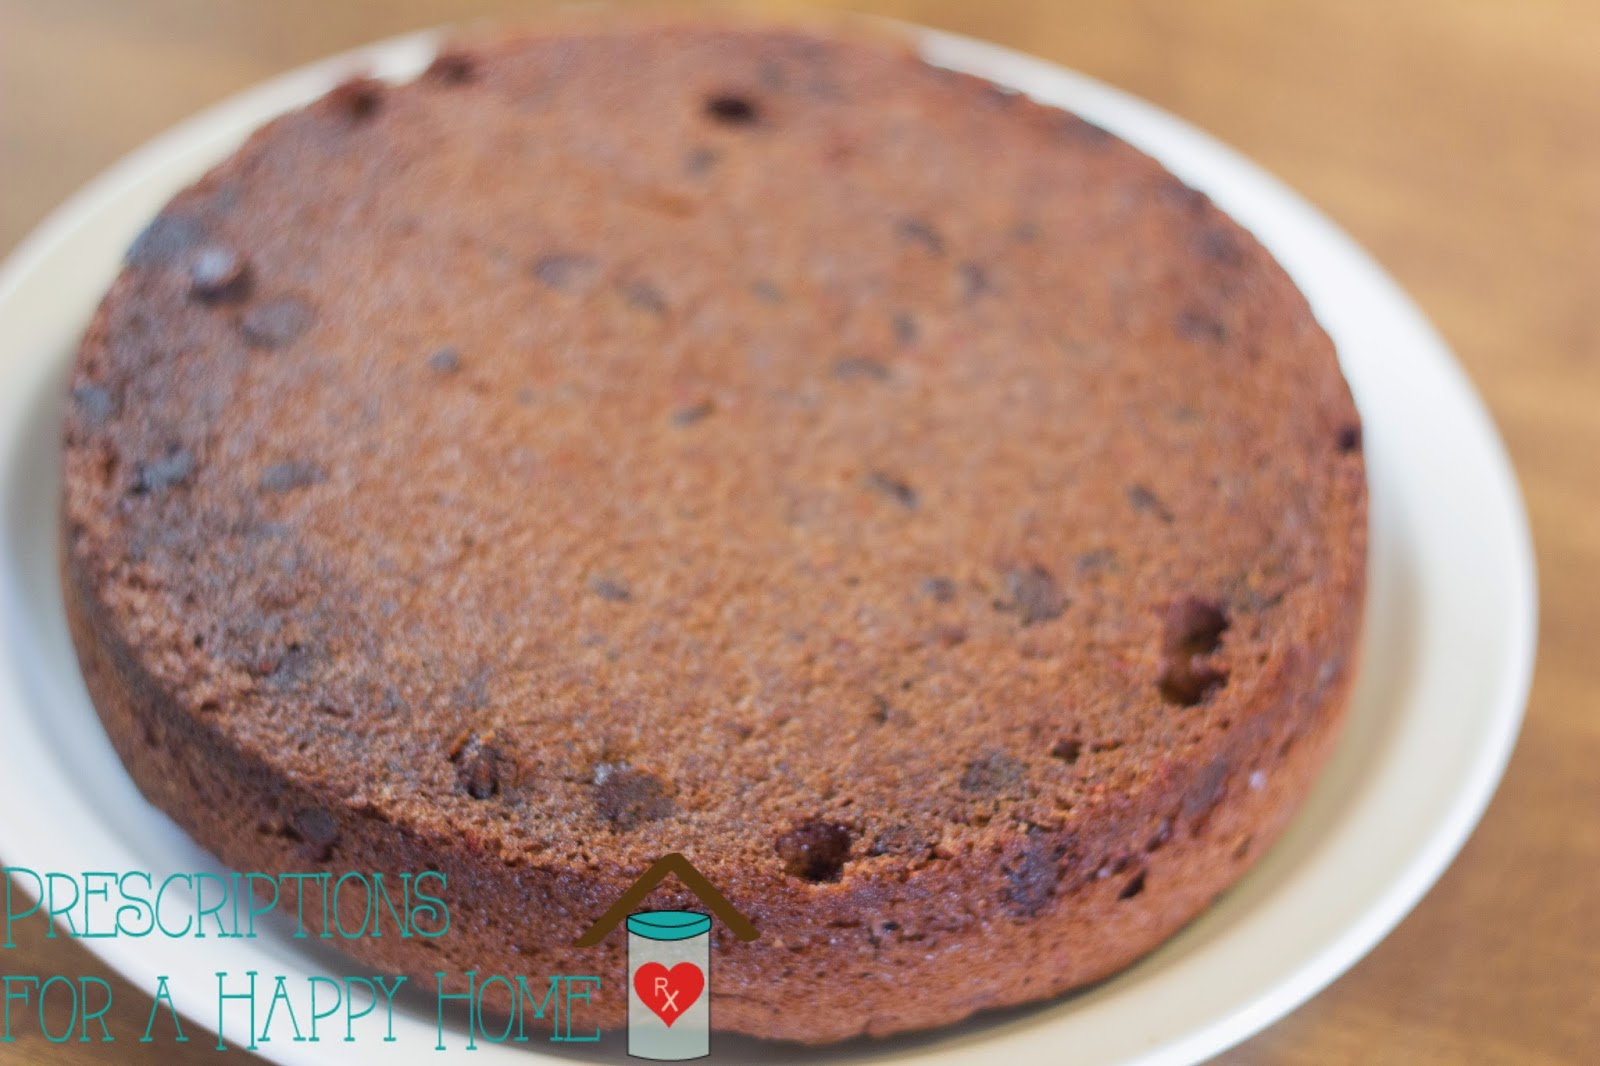
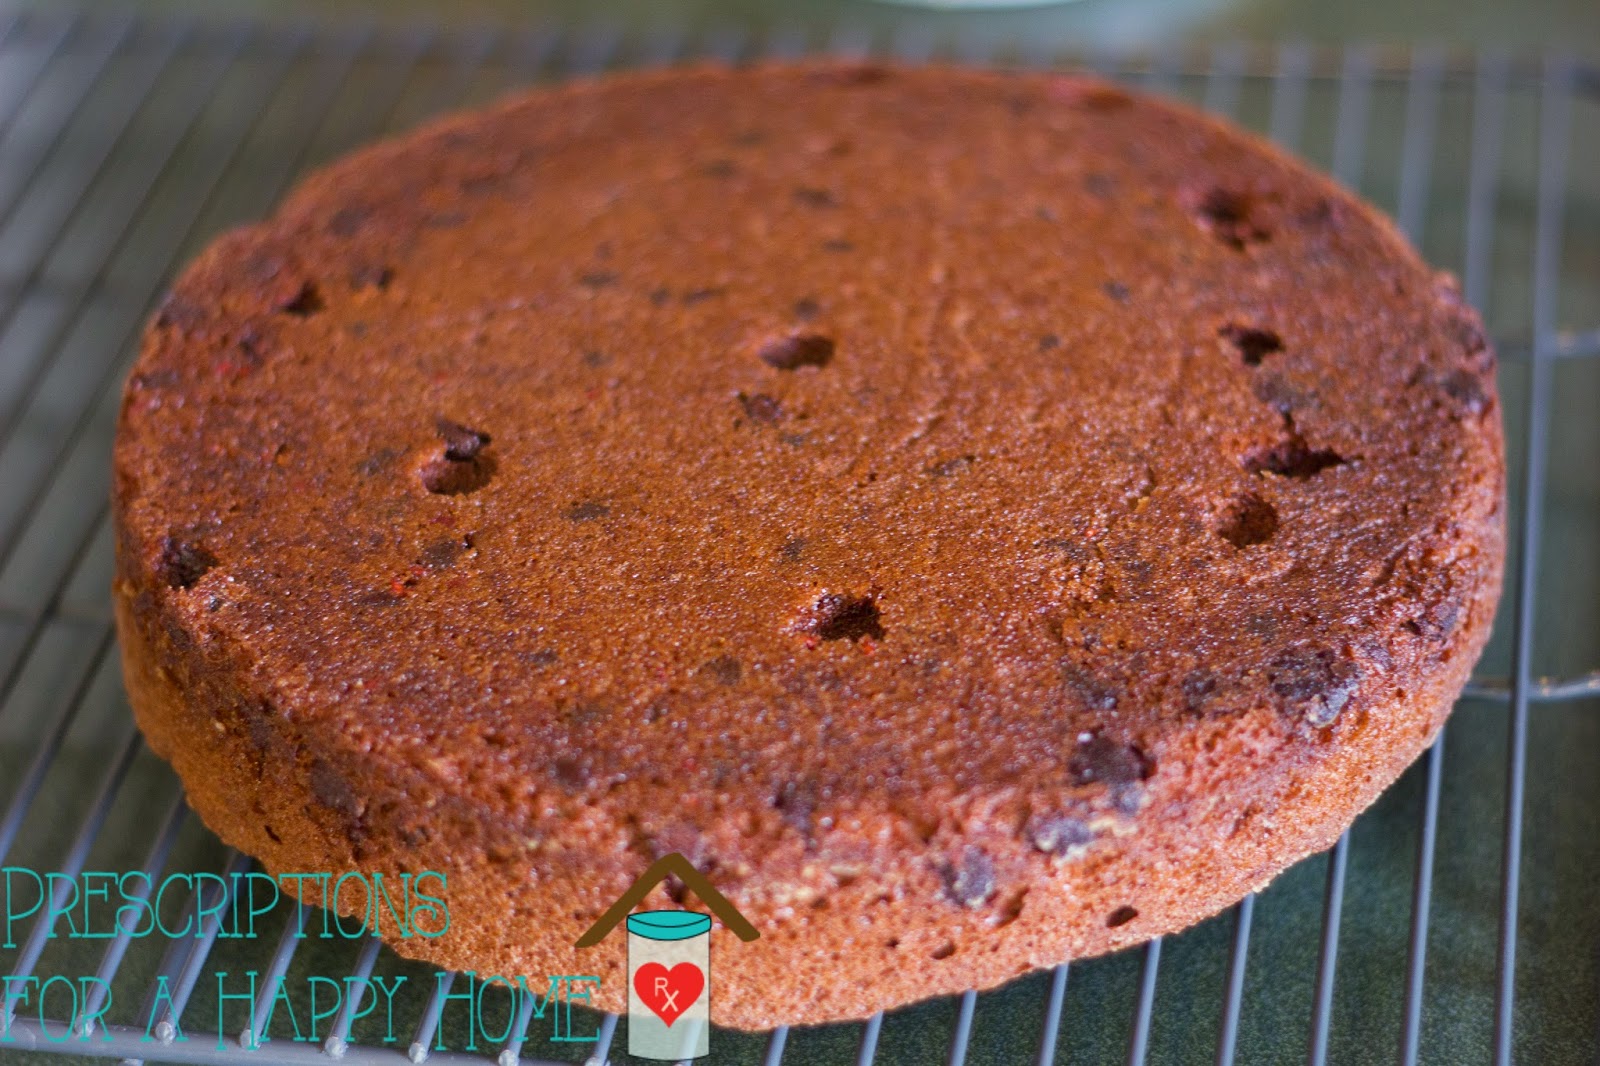
Poor the cake batter into the pans. Bake at 350 for 25-35 minutes, or until done. (The top of the cake should be sponge like on top and spring back after touching).
Let the cake cool for 10 minutes, and then pop out of the pan. I generally put one of the cakes straight on the pan I plan on using and then the other one goes on a cooling rack to finish cooling.


Raspberry Sauce:
Add frozen raspberries, sugar, and 2 tablespoons of water to a medium saucepan on medium heat. Stir occasionally until the mixture comes to a boil, being sure to smash the berries with your spoon as you will want a smooth consistency. Once the mixture has come to a boil (this does seem to take awhile), reduce the heat and simmer for about 5 minutes.
In a small bowl, mix together the cornstarch and 1 tablespoon of water, until the cornstarch as dissolved. Add to raspberry mixture and cook for another couple of minutes, stirring constantly.

Once sauce has thickened, pour sauce through a fine mesh strainer to remove the seeds. Allow the sauce to cool. I placed a bowl in the sink to collect the sauce, and then poured the sauce in the mesh container over the bowl. You may need to use a spoon to help stir the sauce as seeds will get stuck in the strainer and you still want the sauce to strain.
Frosting:
In a saucepan, bring cream, sugar, and corn syrup to a boil over medium low heat, whisking until sugar is dissolved.
Remove from heat and add chocolate, whisking until chocolate is melted. Add butter and stir until smooth.
Transfer to another bowl and allow to cool, stirring occasionally until spreadable. You can put in fridge for a little bit to help cool, but keep an eye on it so it doesn't harden up. This process can take quite some time so allow yourself PLENTY of time for it to cool.
Assembly:
Spread a layer of frosting and a layer of raspberry sauce on one of the layers of cake and then add the other layer of cake on top. Frost the cake with your frosting.
Chocolate Raspberry Cake
Recipe by Prescriptions for a Happy Home
Ingredients:
1 (18.25 oz) package of devils food cake mix with pudding
3 eggs
1 tablespoon of vanilla
1 (12 oz) can of raspberry pie filling
1/2 cup of milk (I used 2%)
1 1/2 c semisweet chocolate chips
fresh raspberries (optional)
Raspberry Sauce (or use a 12 oz can of raspberry pie filling)
Recipe from Our Best Bites
12 oz frozen raspberries
1/2 cup sugar
3 tablespoons of water, divided
1 tablespoon of cornstarch
Frosting:
Use your favorite chocolate frosting, unfortunately I do not have a favorite and chance the frosting every time I make cake. This time I used a chocolate ganache type of frosting from
yummly.com.
1 bag of fine quality semisweet chocolate (I used Ghirardelli chocolate chips)
1 cup heavy whipping cream
2 tablespoons sugar
2 tablespoons light corn syrup
1/4 cup unsalted butter, cut into small pieces.
Directions:
Beat the 3 eggs in mixing bowl, and then add the cake mix, vanilla, pie filling, and milk. Once combined stir in the chocolate chips.
Spray 2 8" cake pans. I like to use this "Miracle Pan Release" stuff since I have never had problems with my cakes coming out of the pan. (Mix 1/4 cup of flour, 1/4 cup of vegetable oil, and a 1/4 cup of shortening. Brush generously on the pan. Extras can be store at room temperature in an airtight container for another time).
Poor the cake batter into the pans. Bake at 350 for 25-35 minutes, or until done. (The top of the cake should be sponge like on top and spring back after touching).
Let the cake cool for 10 minutes, and then pop out of the pan. I generally put one of the cakes straight on the pan I plan on using and then the other one goes on a cooling rack to finish cooling.
Raspberry Sauce:
Add frozen raspberries, sugar, and 2 tablespoons of water to a medium saucepan on medium heat. Stir occasionally until the mixture comes to a boil, being sure to smash the berries with your spoon as you will want a smooth consistency. Once the mixture has come to a boil (this does seem to take awhile), reduce the heat and simmer for about 5 minutes.
In a small bowl, mix together the cornstarch and 1 tablespoon of water, until the cornstarch as dissolved. Add to raspberry mixture and cook for another couple of minutes, stirring constantly. Once sauce has thickened, pour sauce through a fine mesh strainer to remove the seeds. Allow the sauce to cool.
Frosting:
In a saucepan, bring cream, sugar, and corn syrup to a boil over medium low heat, whisking until sugar is dissolved. Remove from heat and add chocolate, whisking until chocolate is melted. Add butter and stir until smooth.
Transfer to another bowl and allow to cool, stirring occasionally until spreadable. You can put in fridge for a little bit to help cool, but keep an eye on it so it doesn't harden up. This process can take quite some time so allow yourself PLENTY of time for it to cool.
*This frosting is quite time consuming, waiting for it to cook and cool, so if you are short on time I would use a different one. It is more ganache like than frosting.
Assembly:
Spread a layer of frosting and a layer of raspberry sauce on one of the layers of cake and then add the other layer of cake on top. Frost the cake with your frosting.
Serve with extra raspberry sauce and raspberries on top.
Makes a 8" double layer cake.
Enjoy!


